How To Add A Growform Multi Step Form To Webflow
Webflow is an extremely powerful landing page builder, and is one of our favourites for creating professional, responsive websites.
But with Webflow, there's no easy way to create multi-step forms - sure, you can add form fields to your form with the Webflow editor. But, the moment you start using JavaScript to hide/show fields based on steps... and adding validation... it gets extremely complicated.
Growform is the leading multi-step form builder, and makes it a breeze to create advanced multi-step forms that can be embedded into your Webflow landing page.
The result? A beautiful, responsive Webflow multi-step form that looks and behaves exactly like it's part of Webflow itself:
1 - Create a form on Growform
First off, create a new form in Growform. You can snag a 14 day free trial that doesn't need a credit card - get started here.
The first step will look like this:
Follow our getting started guide if you need a helping hand with your first form.
2 - Get your Growform share code
Navigate to the "Share form" menu item at the top of Growform (once you're in your form) to grab your share code.
Then, click the the first option, called "Embed Growform directly onto your website with an HTML snippet". Click+copy the code to your clipboard.
3 - Add an "Embed" component to your Webflow page
Now, open up your landing page in Webflow and delete any forms you might have already created - we'll be replacing them with our shiny new multi-step form
Next, find the "Embed" component on the left-hand side. It looks like a pair of code brackets with a backslash in ( </> ).
You'll need to do a fair bit of scrolling to find it - at time of writing, it's toward the very end of the list under "Components".
Once you find the "Embed" component, drag it to the place you want it to be on your page.
Paste the Growform share code into this box.
It's really simple - here's a gif of the whole process:
Hit "Publish" to complete this step.
4 - Make some cosmetic adjustments to your form
Once you've added your form and published your page, you'll probably see something like this on your live Webflow domain (depending on the form template you chose):
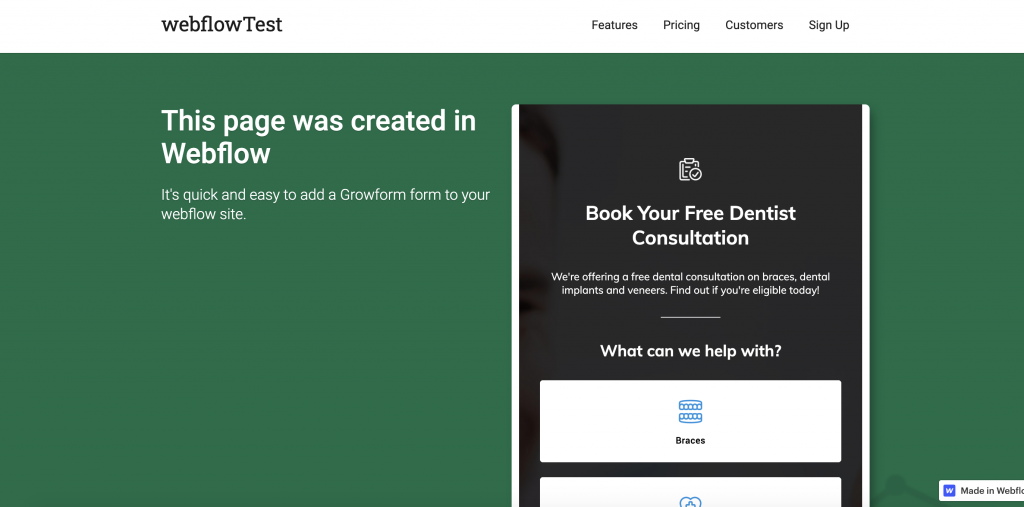
This means you're 90% of the way there - you just need to make some adjustments in Growform to make the form look great:
- In Growform's "Theme" settings, set the parent container background to "color", and choose a background color matching the color in Webflow (in our example, it's in a white container).
- Remove any headers/instructions at the top of your Growform form - you can always add these to the space above in Webflow.
- Adjust your form's primary color (which affects progress bars and accents), as well as the range of other colour settings.
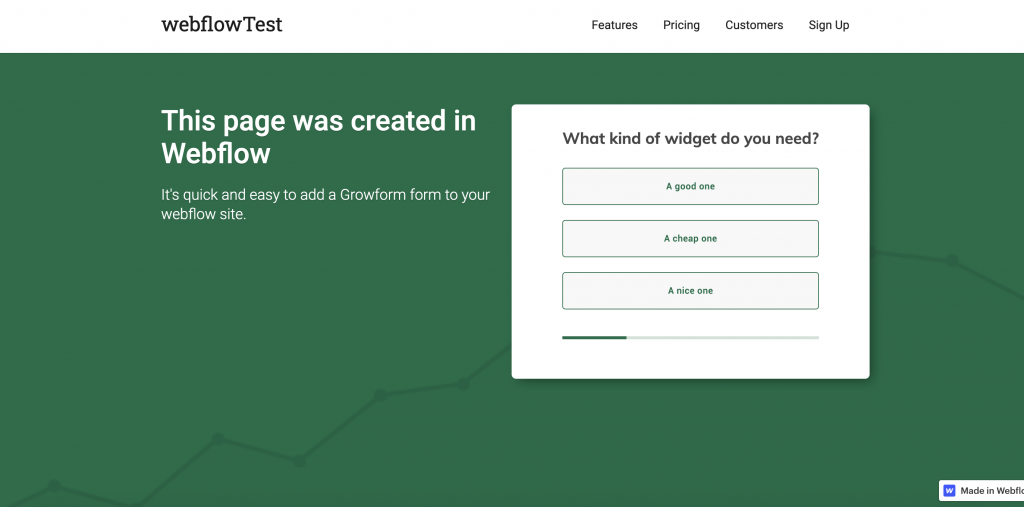
With just 2-3 minutes adjusting theme settings, we can get it to look like a really nice Webflow multi step form, completely sympathetic to the design of the rest of the page:
5 - Send your leads somewhere!
Now we have our Webflow multi step form all set up, where do the leads go?
The leads will appear in your Growform account, and will be emailed to you by default. You can also use Zapier to send your leads to one of hundreds of destinations.
There's therefore no need to configure anything more in your Webflow account - anything to do with your leads will now be handled by Growform.
Need more? We're actively working on our Webflow offering.
Please get in touch with our experienced support team if we can help with anything, including helping to configure your account.