How To Integrate Growform With ‘000s Of Destinations Using Zapier
Growform comes out the box with email notifications, but there's much more you can do thanks to our integration partner, Zapier.
Zapier is an integrations platform that makes it easy to hook services together (like Growform and an SMS provider, in this example).
1 - Create your form
We'll assume you've already created a form in Growform and embedded it in your website. If not, head over to the getting started guide before you go much further here.
2 - Sign up or sign in to Zapier
If you don't already have a Zapier account, go ahead and create one here (it's free):
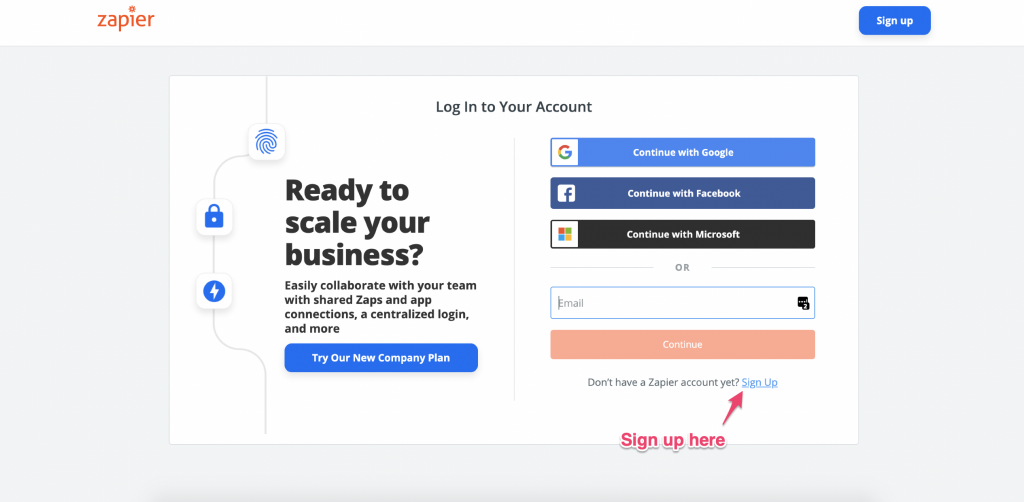
If you do have a Zapier account, sign in.
3 - Make a new Zap
Hit "Make a Zap" or "Make a new Zap" on Zapier:
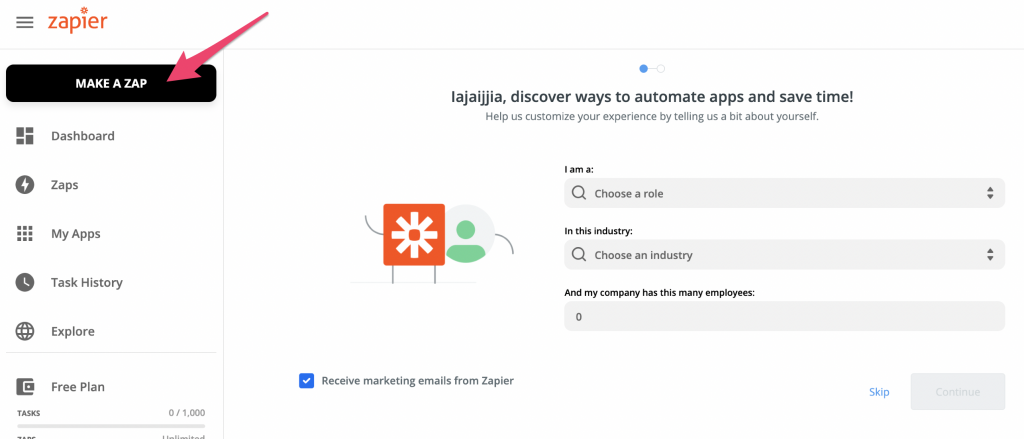
4 - Choose Growform as your trigger app in Zapier
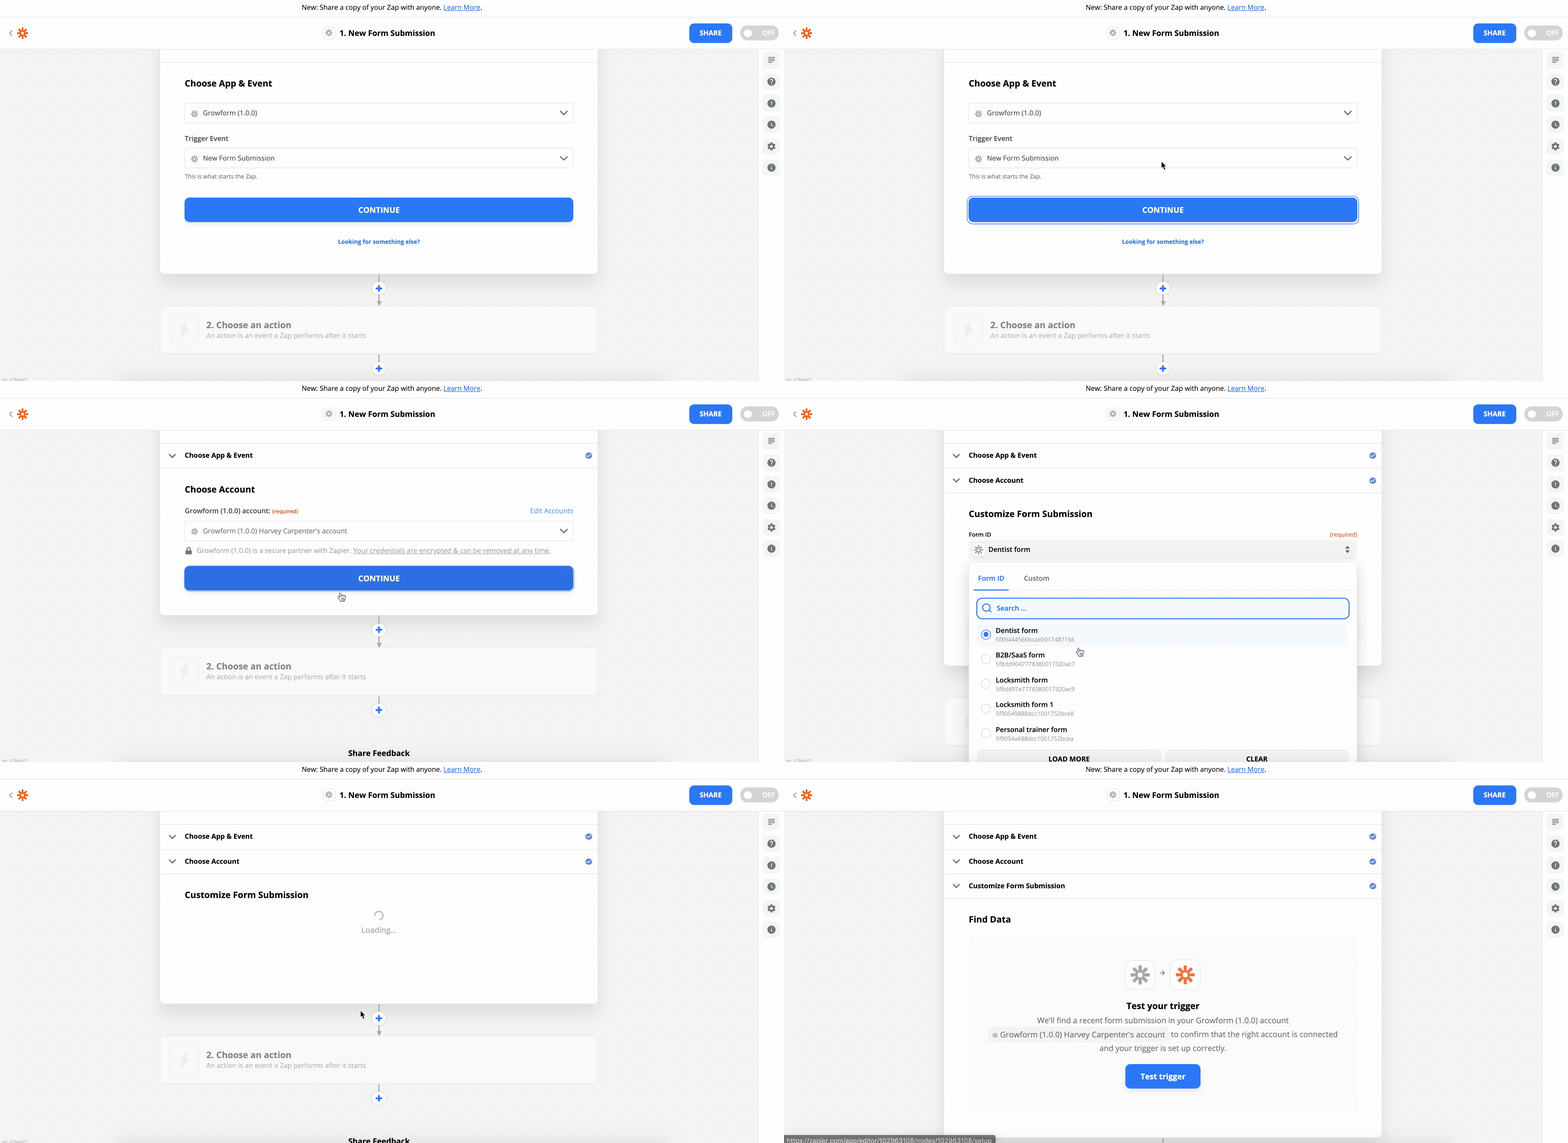
Search "Growform" and choose Growform (Latest).
Hit "Continue" when you're ready.
5 - Link your Growform account to Zapier
Hit "Sign into Growform" on the next step. You can find your API key here.
Continue through the steps and choose the form you want to act as the trigger:
6 - Make sure you have data in your form
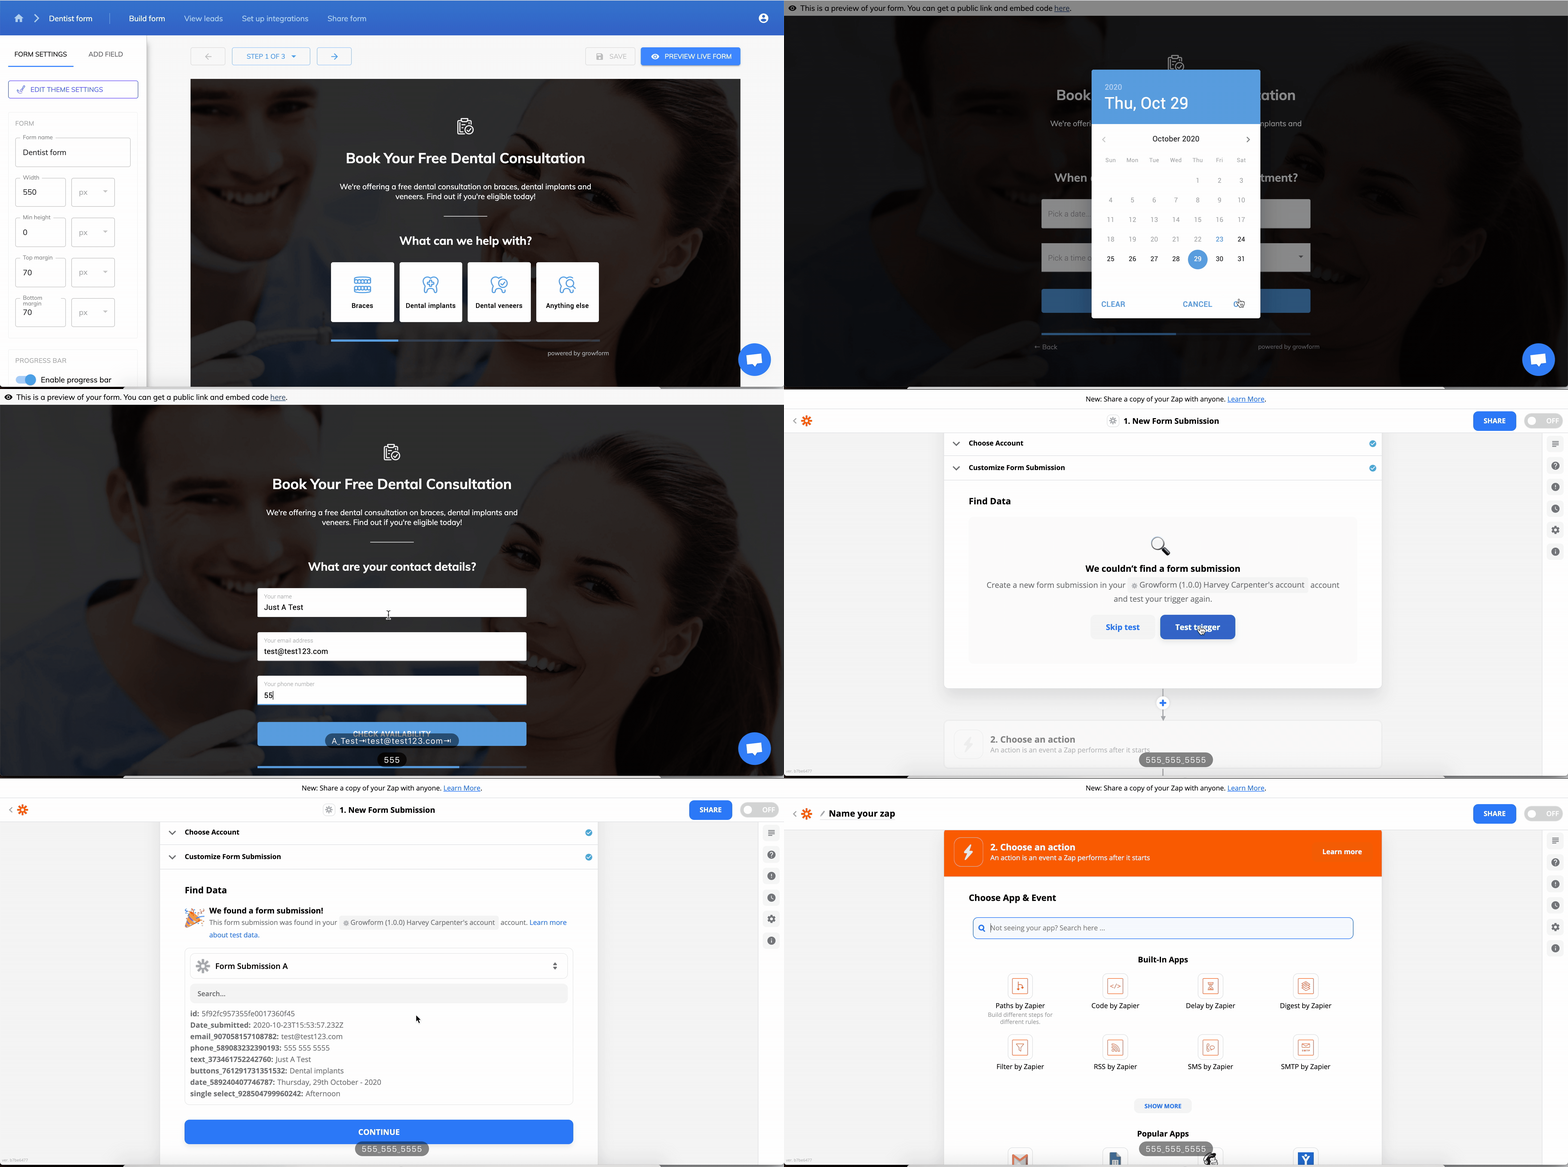
At this point, Zapier will ask Growform if there are any entries to display.
If your form doesn't have any leads yet, we recommend submitting a test lead (you can do this by navigating to your form in Growform and hitting "Preview form".
Once you've submitted a test lead, hit "Test trigger"in Zapier and you'll see your most recent lead details appear:
7 - Choose an "action"
Now, choose an action to happen when you receive a Growform submission.
In this example, we'll choose "Send SMS" to receive a text message when somebody fills in your form - but there are hundreds of actions you can map:
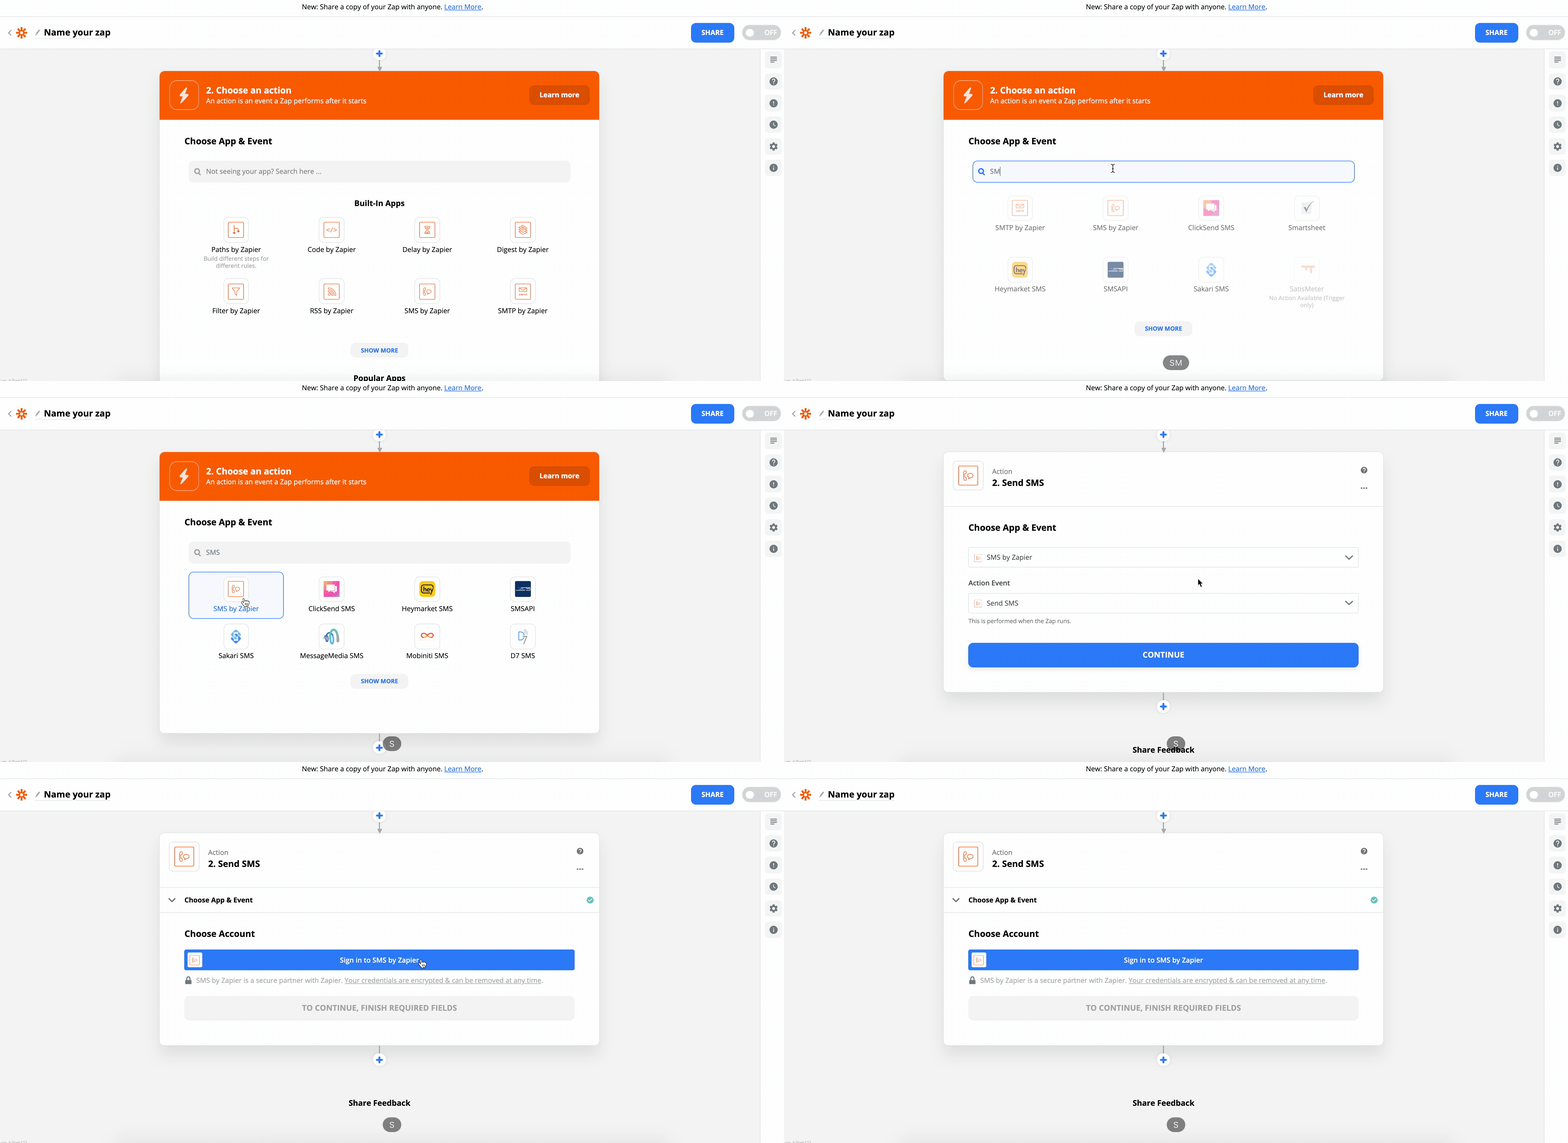
8 - Follow the steps and map your fields
Follow the on-screen instructions on Zapier and be sure to set your Zap to "on" when you're done.
Congratulations - you've set up your first Zapier action based on a Growform trigger!